
In this post, we'll learn How to Install SQL Server on Ubuntu Linux Server. We will also practice how to connect and manage it remotely from SQL Server Management Studio.
let's see the whole process step by step.
Install SQL Server on Ubuntu Linux Server (Detail With Commands)
I made a Video, about Installing Microsoft SQL Server on Ubuntu Linux Server. I recommend you check it out if you're into Video Content.
Let's Do it!
If you want to follow up with us and learn practically (and that's what you should do), then you need to get a VPS server.
Ubuntu VPS Server (Setup)
In this tutorial, I will use VULTR

Create a new VPS.
You can use my link to get free credits of ~100 dollars for 2 weeks to learn with us and test totally for free.
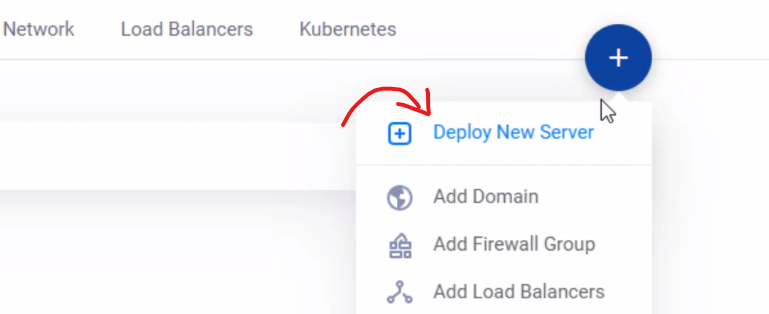
Click on the plus icon, to deploy a new server.
Select Cloud compute.

Select any region you want.

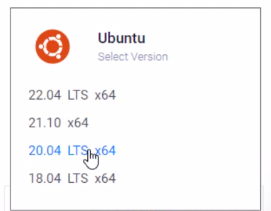
I will select Ubuntu 20.04 and select the size you want.
And then simply enter a server name. In my case, I will say SQL server test.
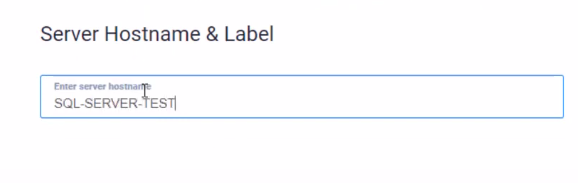
And click deploy

Now you will have a VPS server in a couple of seconds or minutes.
VULTR will install, deploy, and prepare this Ubuntu Linux server in your account.
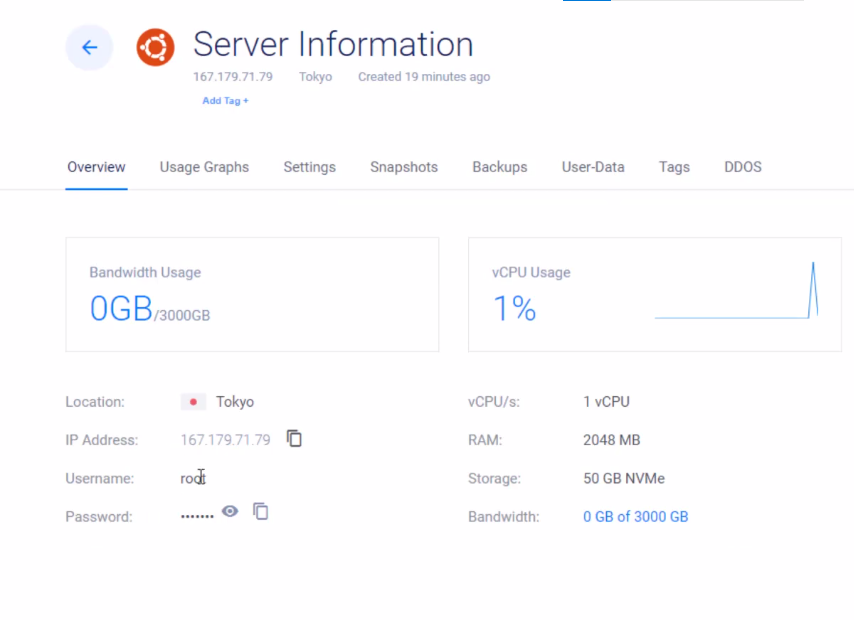
When it's finished you will see the IP address, the username, and the password.
Ubuntu Linux Server (Putty Setup)
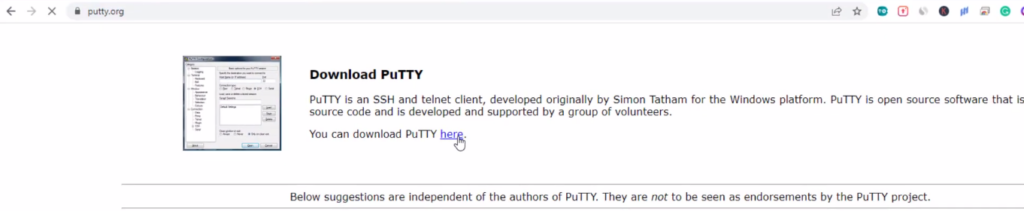
Now, go to a website called putty.org and download and install putty SSH Client to connect to our server.
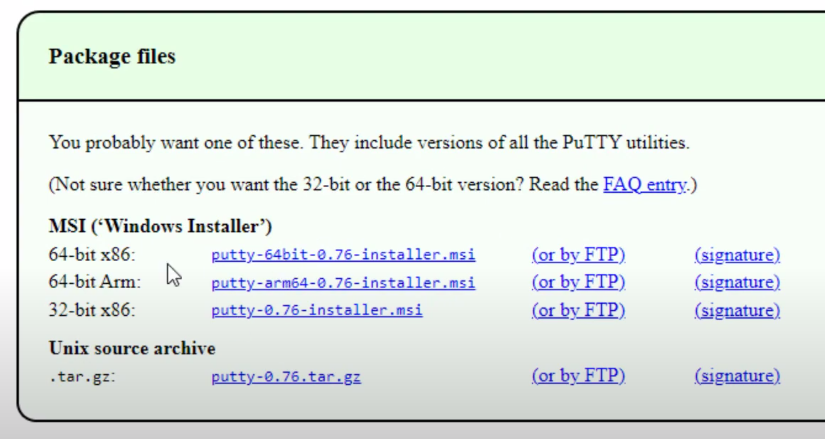
You have to Download it, Depending on your architecture. In my case, it's x 64.
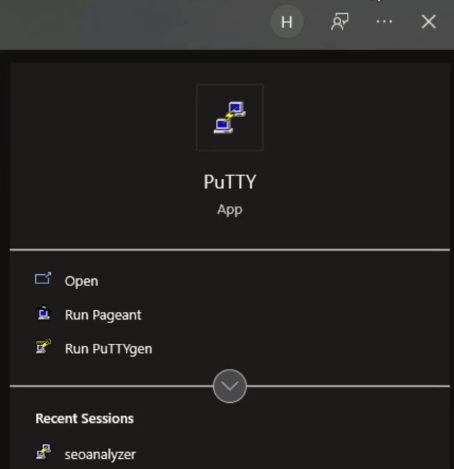
And now go and open putty to connect to our server.
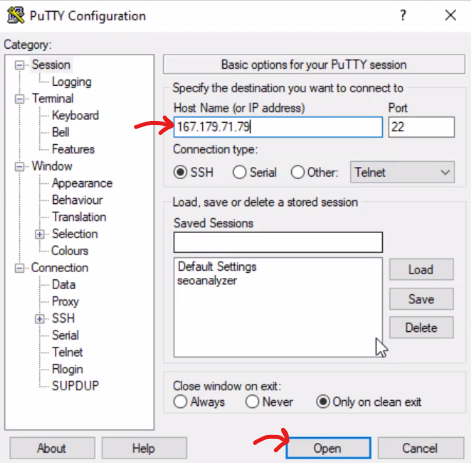
Get the IP address of the server from your Vultr dashboard.

Put it here and click open.
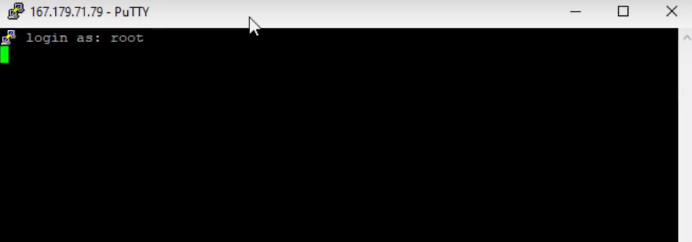
Type ‘root'
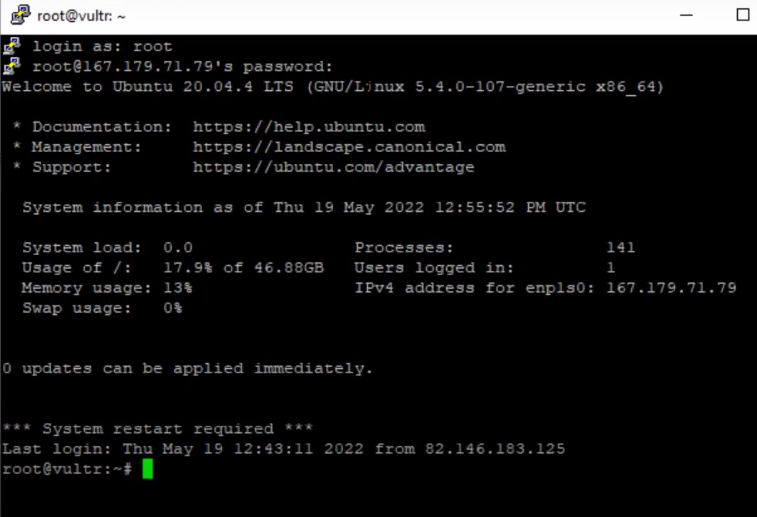
Copy the password.

And paste inside putty (to paste it just right-click on your mouse it will be hidden, but don’t worry it's there)

Press enter and you'll be inside your server.
Install SQL Server
Let's now start installing SQL server (it's only five commands). But, if you want more commands, help, and resources. You can check this Official Microsoft Guide out.
WGET Command
The first command is wget command, to get the keys. Here it is:
wget -qO- https://packages.microsoft.com/keys/microsoft.asc | sudo apt-key add -
Paste and Press enter.

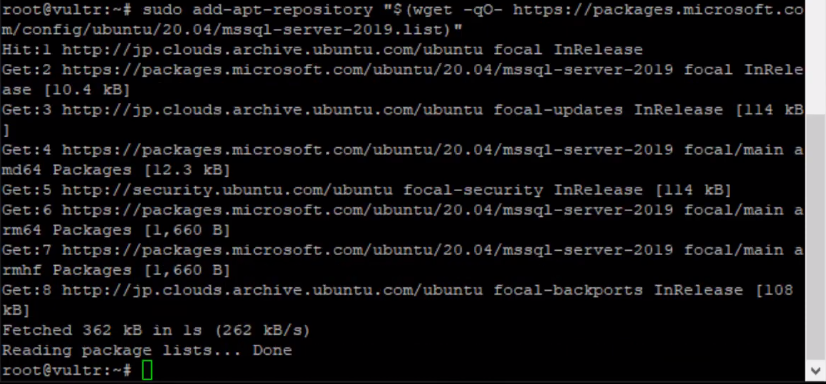
Adding SQL server package
Then I will add the SQL server package to my server. Here it is for Ubuntu 20.04:
sudo add-apt-repository "$(wget -qO- https://packages.microsoft.com/config/ubuntu/20.04/mssql-server-2019.list)"
NOTE: This may change depending on the Ubuntu version you are working with. Go here and select the command for your Specific Version of Ubuntu.
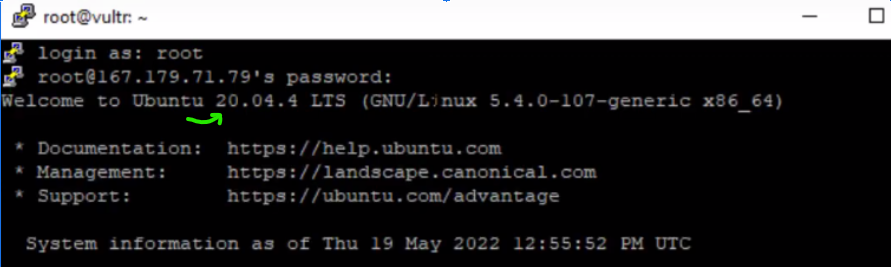
To know your Ubuntu Version, Find your version when we completed the server Setup with Putty above.
Command number two finished
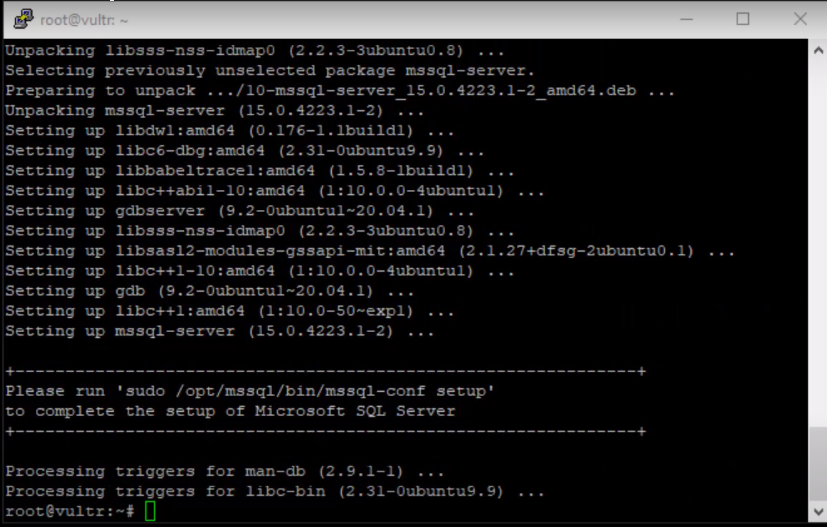
Update SQL Server
Then simply update and install SQL server with these two commands

sudo apt-get update
And

sudo apt-get install -y mssql-server
Or
sudo apt-get install mssql-tools
Press Enter and Wait. And as you can see, it works perfectly!
Now it's time for the last command.
Configuration command
Paste this one

sudo /opt/mssql/bin/mssqql-conf setup
Press Enter to Run the setup and now, it will tell you to pick the edition.

Select what you want. I will go with express which is three,

and press enter.
Now yes to accept license terms

Type ‘yes’ and press enter.
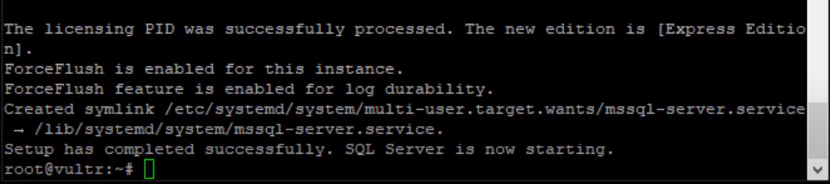
Setting SQL Server Password
Now enter a strong password for your database.
Just Type and press ENTER, to set and confirm it. You won’t be able to see it, but it’s there.✔

And Congratulations! SQL Server is now starting.
SQL Server Run Check Command
Let's check if the service is running with this simple command.
systemctl status mssql-server --no-pager
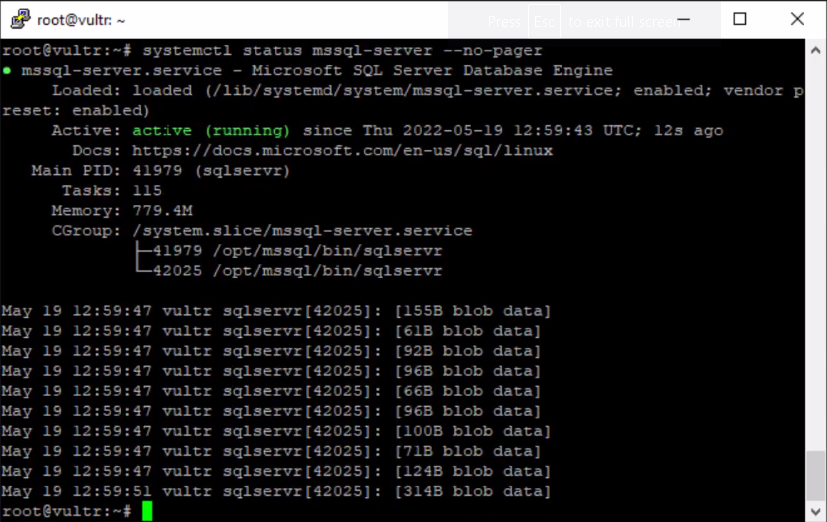
And it's running perfectly.????????????
Managing With SQL Server Management Studio
Now to create/manage databases, add tables and do the cool stuff. You have two options.
1. use the cli command-line tools or
2. use SQL server management studio
I believe it's easier to use SQL server management studio. As we have an interface, especially for beginners.
Setting up SQL Server Remote Port
So simply inside your server again we need to open a port.
SQL server remote port., which is TCP 1433
how to do this?
Simply paste this command( IP tables )
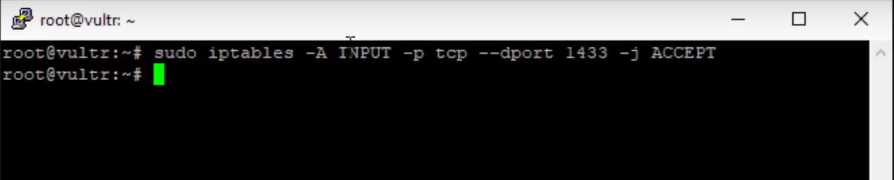
Sudo iptables -A INPUT -p tcp –dport 1433 -j ACCEPT
That's it
Now we can connect to SQL server from our local PC.
Let's test it.
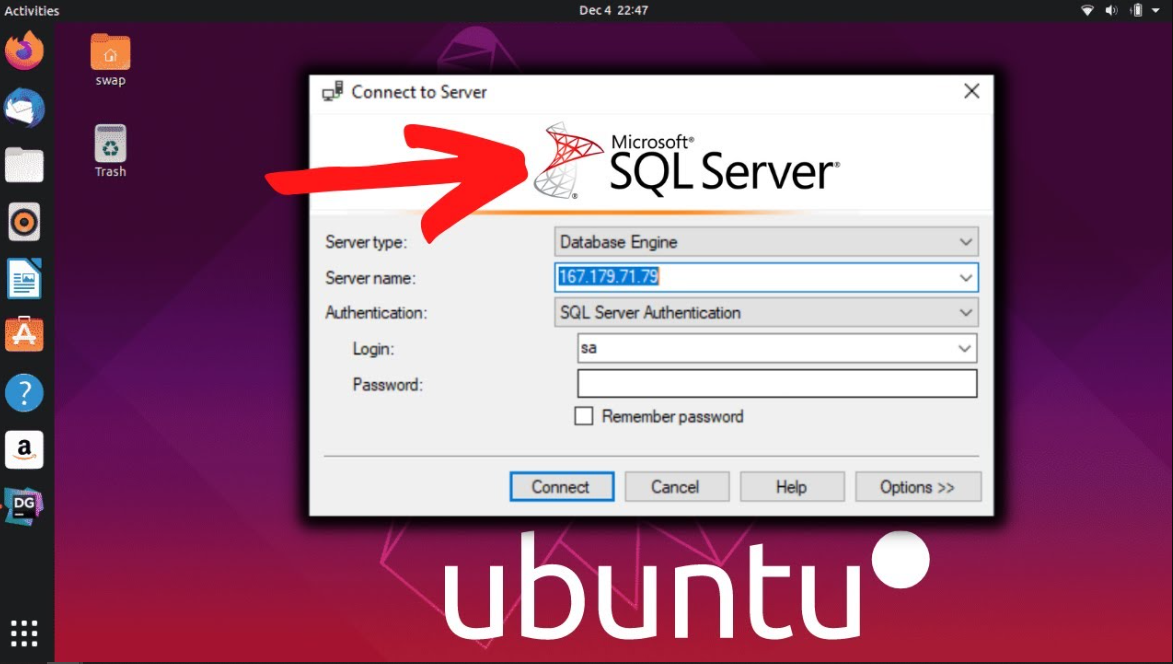
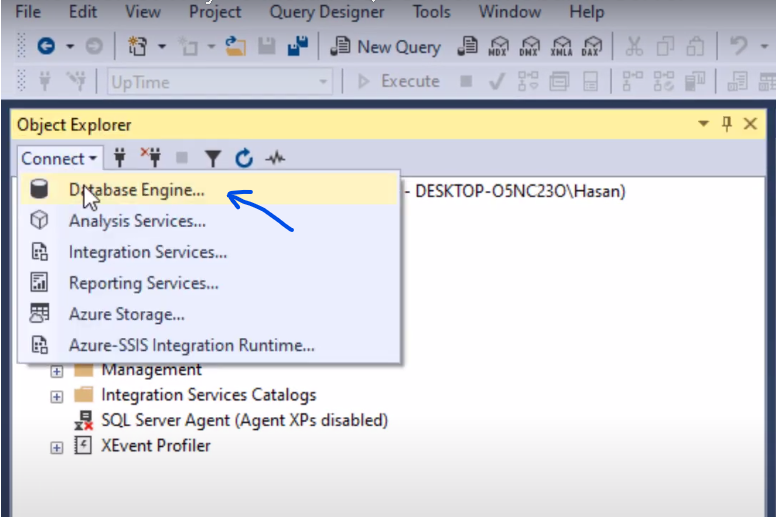
I will open it here, and click on ‘create a new connection'
Let's paste the IP. copy the IP, from VULTR dashboard.

Paste IP here.

SQL Server Authentication.
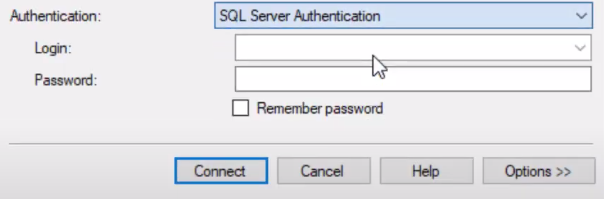
Enter ‘sa‘ for login and enter the password you used in the installation.
Click connect.

Yay, it did work out!
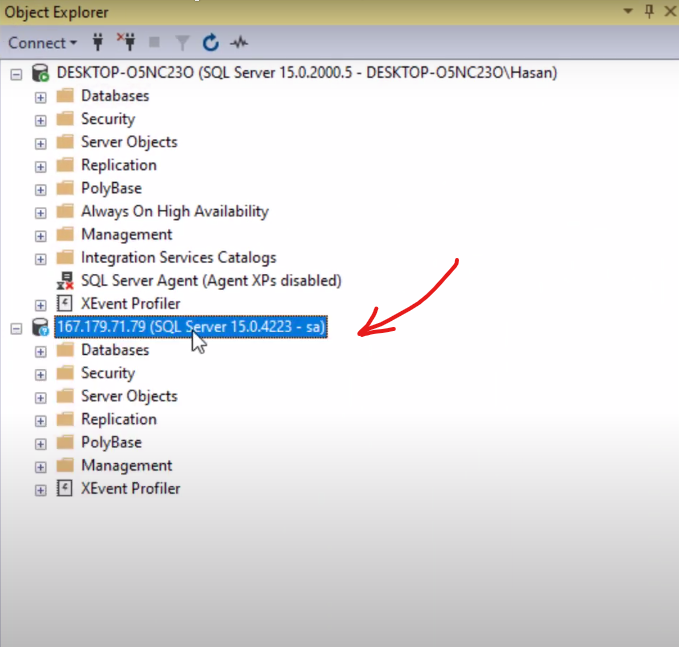
Perfect!
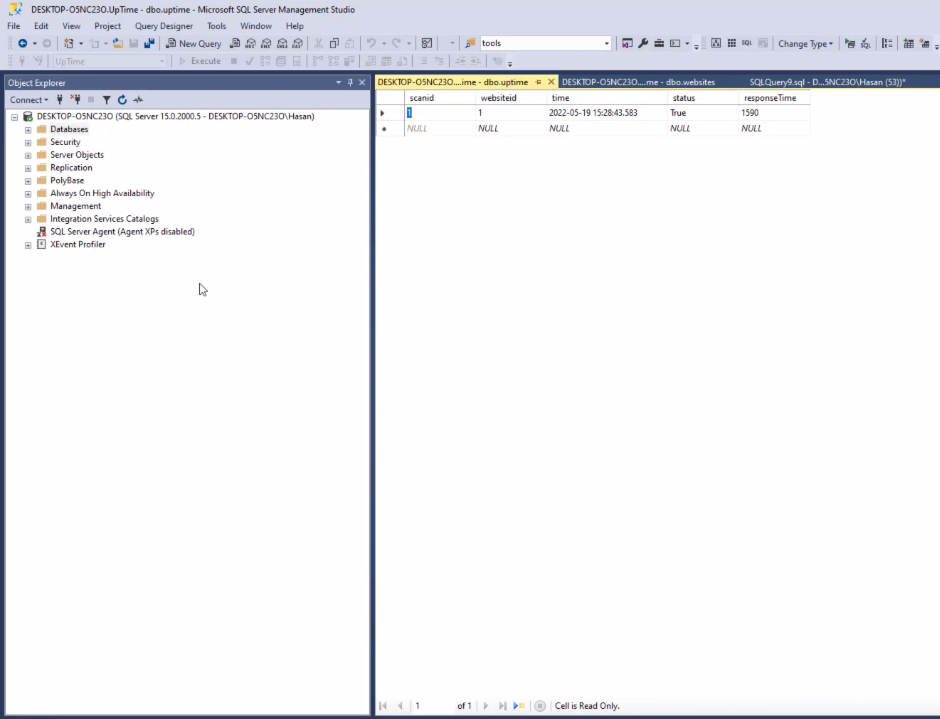
Now, we are inside our server.
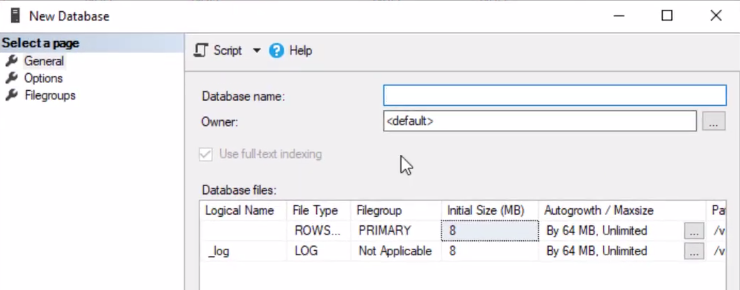
You can create databases, add tables or work on queries. Do whatever you want.
Now, this approach may be a little bit slow, but easy for beginners.
What's Next?
Now it's time to implement a real application with a real SQL server database using .net core app with a database and learn how to host it.
I believe this Blog Post is for you right now.
I'll be answering questions in the comments below if you have any.
Take Care!